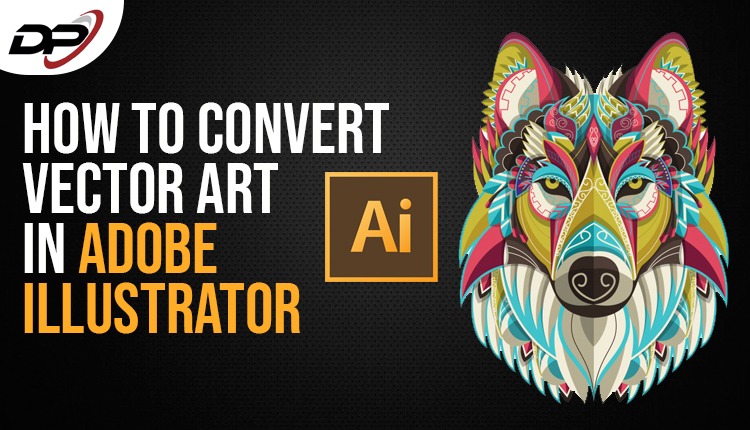
Adobe Illustrator, a software, which uses Windows and Mac OS computers to generate vector art work, drawings, and illustrations, etc. It is a renowned software use to create a large array of digital and printed images!
Presently, we will learn how we can convert any art or raster into a noteworthy vector.
But before that, it will be interesting to know what vector is?
Vector is the image that can be scaled up or down without the loss of quality. Isn’t it’s interesting? But why is that? Because they comprise lines and shapes with less detailing, you can scale them up or down without quality discharge, and this quality makes a vector resolution-independent.
Now you know what vector is! So now, let’s learn how to make vector art using adobe illustrator!
Step-1:
Select a picture to convert to vector art!
Take into consideration: You can use any image to make vector art, but the larger the picture, the difficult and time-consuming it would be to vectorize—edit one subject at a time. So choose image wisely.
Step-2:
Choose the preset which closely resembles the selected image.
Adobe will provide you a range of presets which automatically do most of the work.
Run the Adobe Illustrator and choose the image to activate image options located on top of your illustrator windows. Now click the drop-down arrow adjacent to Image trace and select your preset.
Step-3
Let’s vectorize the selected image!
After clicking the image trace button, your image will automatically go through the tracing process.
Step-4
Tweak your Traced image!
Once your image is traced, it’s time to tune it. Tune your traced image using the image trace panel
Here is a tip! If you like your settings and want to save them click the manage preset button. Now save your settings as a new preset.
Step-5
Modify vector graphics!
To edit further, you have to separate the color groups. To do so, follow these steps:
- Select the traced image
- Click on the expand button
- Right-click the image
- Select ungroup
- Check into the Layers panel. Your colors are separated into layers now!
Step-6
Edit it!
To select the whole color group, follow steps:
- Click on the shape
- Select > same > fill color
- To delete selected spaces, hit backspace on the keyboard
- Use pen or brush tools to fill the empty spaces.
Step-7
Let’s save it!
You can choose any vector image format to save your customized vector art. forms include AI, PDF, EPS, SVG, and others. To export it, head to file > export and then select export as.
Your vector art is all set and saved.
Through this useful software, you can make any vector art, whether complicated or straightforward. You can also customize your already made vector art.
Play with adobe illustrator and generate eye-catching and noteworthy vector arts or customized vector arts!