Are you a newbie in 3D puff embroidery or an expert looking for some golden tips? Whoever you are! You are in the right place to learn about 3D puff embroidery. Consider this quote:
“The capacity to learn is a gift; the
ability to learn is a skill; the
willingness to learn is a choice.”
By (Brian Herbert)
So you are here because you are willing to learn something new. Don’t waste this gift; polish your skills by learning and implementing something new.
Let’s get straight into it!
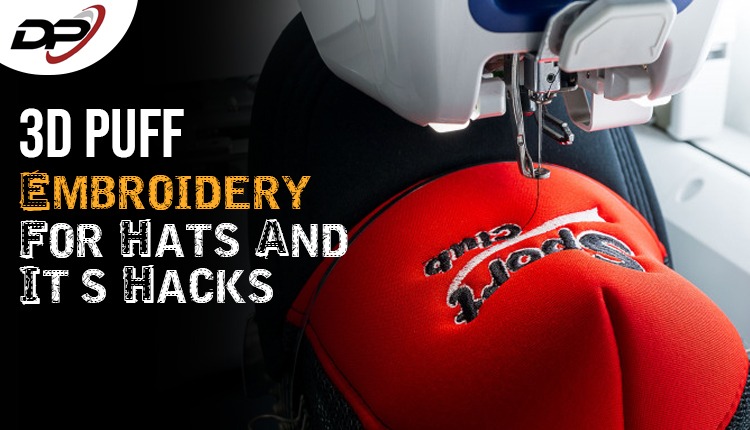
What exactly 3D puff embroidery is?
“It is a modernized type of embroidery which uses underlying 3D foam to
create depth and pop up the embroidery, giving it a 3-dimensional look.”
Let’s dive into tips and tricks!
Tips and tricks of 3D puff embroidery!
1-A crucial skill to learn before doing 3D puff embroidery!
The most basic yet essential skill is to know how to create a stop program in your machine after your regular flat embroidery is finished. This thing will help you nearly in every 3D puff embroidery you are going to do.
2-The magic of sharp needles!
Use sharp needles because they can easily pass from the foam.
3-Foam selection!
The choice of foam depends on how high you want your design to be. If it’s high, then choose thick foam and vice versa; But you should know this, the thicker the foam, it is more difficult it to operate your sewing machine on it.
So always prefer thin foams over thick foams.
4-Marking the design figure!
To prevent areas from damage, create an outline of the design with satin stitches.
5-What about the speed of the machine?
Always operate your machine at optimum speed. To determine the ideal speed of the machine by conducting experiments. Sometimes we need relatively low speed, and sometimes we need high speed for our embroidery designs. So it’s crucial to know the speed at which the machine works best.
6-Testing and practicing are the keys!
Beginners or even experts always remember to do some test runs before starting any new embroidery design to avoid any disaster later.
7-Stitch density should be low or high?
Remember to keep stitch density higher than regular embroidery designs – Create satin stitches over the flat embroidery.
8-Type of fabric matters!
Due to higher stitch density, prefer thick fabrics like those of caps. These fabrics are very stable.
9-How to remove surplus foam?
If you are left with tiny foam pieces, use the heat gun gently, or use tweezers to pull out the excess foam.
10-Laying the foam!
Are you facing the problem of unstable foam? Use tape or sticking spray to keep foam fix in place.
11-Here is a fantastic rubber band hack!
When the 3D foam part is ready and you are ready to hoop the cap, tie the rubber band that runs around the cap’s boundary – An ordinary rubber band will work. Now place the foam on the cap and stretch the rubber band on the foam to secure it in place. Hurray, your hands are safe now!
- Custom embroidered hats are in-demand these days. If you love custom embroidered hats and want to make custom embroidered hats by yourself, these tips and tricks are going to help you a lot.